Here’s the Church, and Here’s the Steeple
October 14th, 2015
Better late than never right? So my desire to have a new post out yesterday was defeated by my inability to get anything done last week. It’s not that I didn’t try. Lots and lots and lots of time has been spent trying to re-topologize the baron. Unfortunately all of the time has to be written up as a learning experience cause I’m probably going to need to start over. What I got aint great.
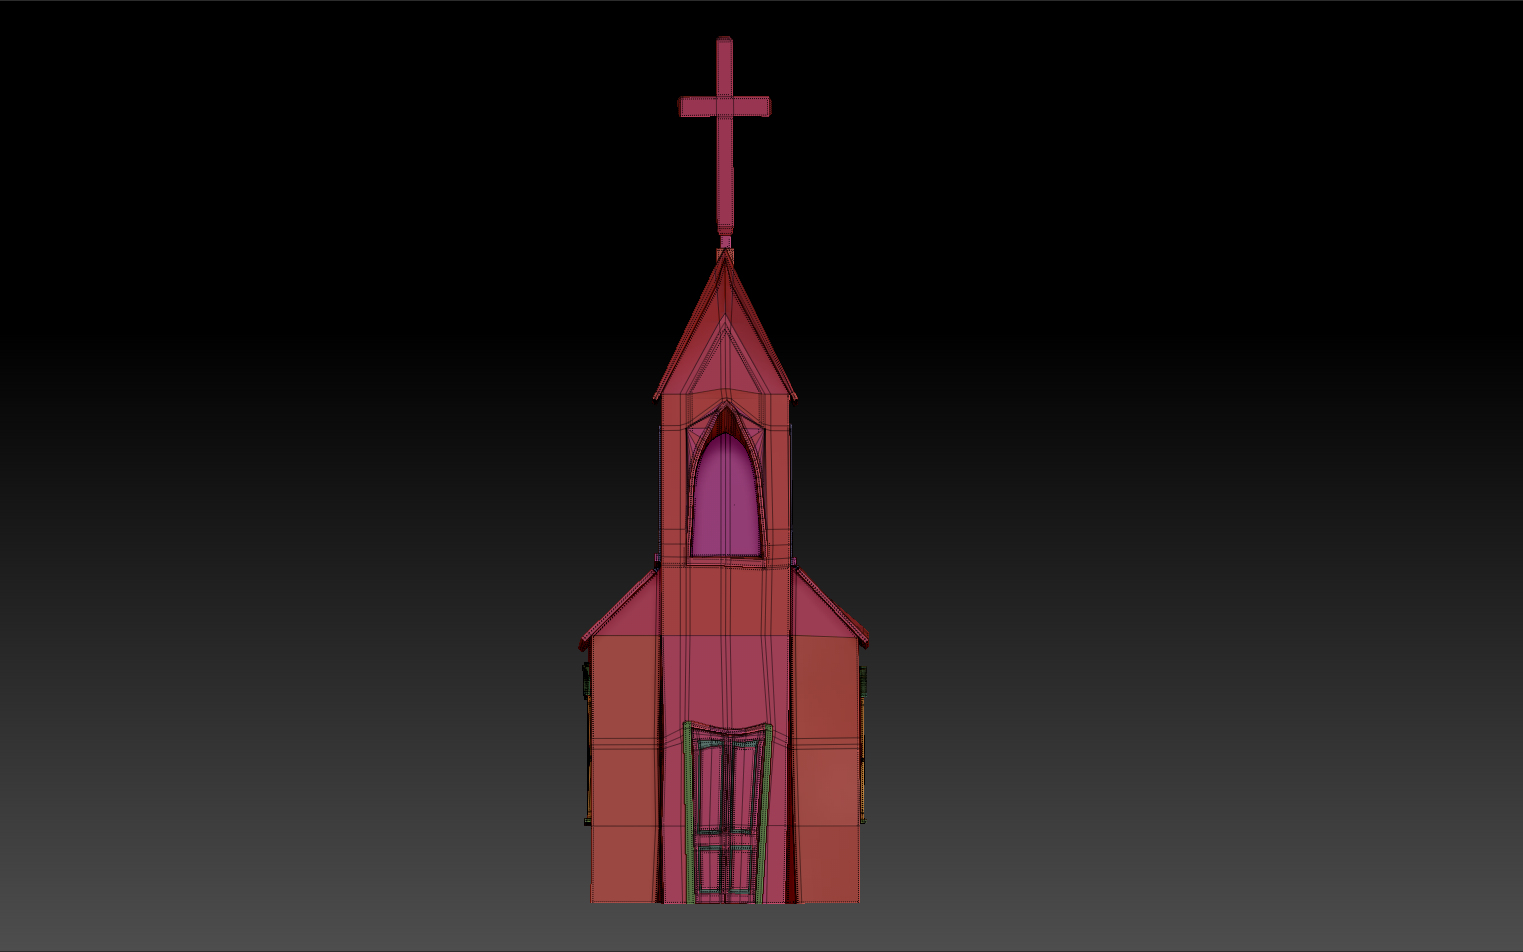
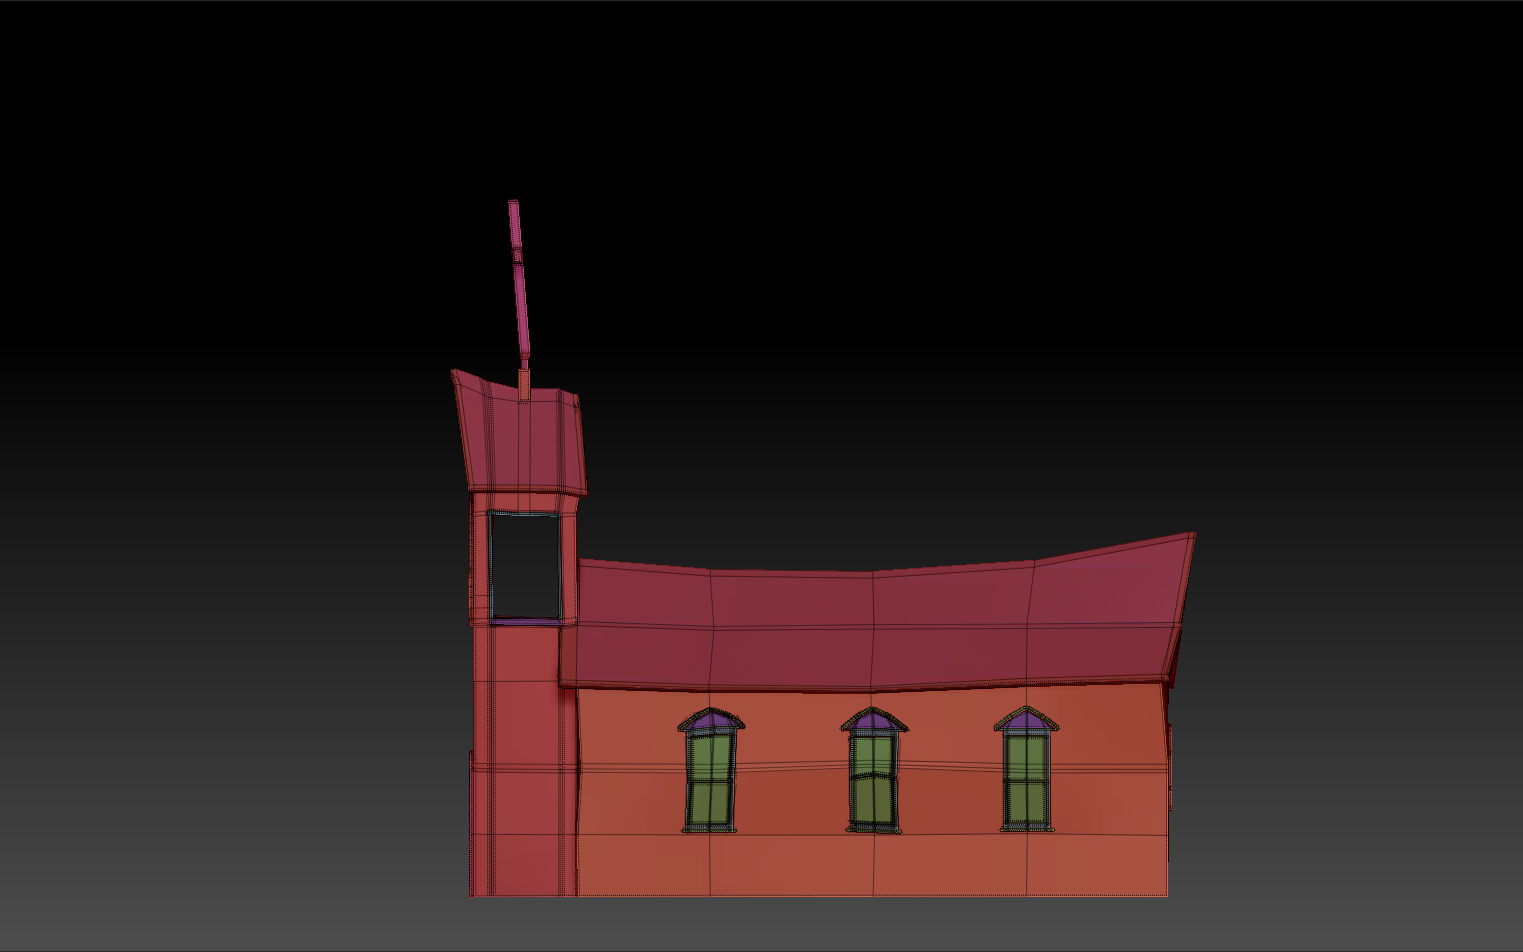
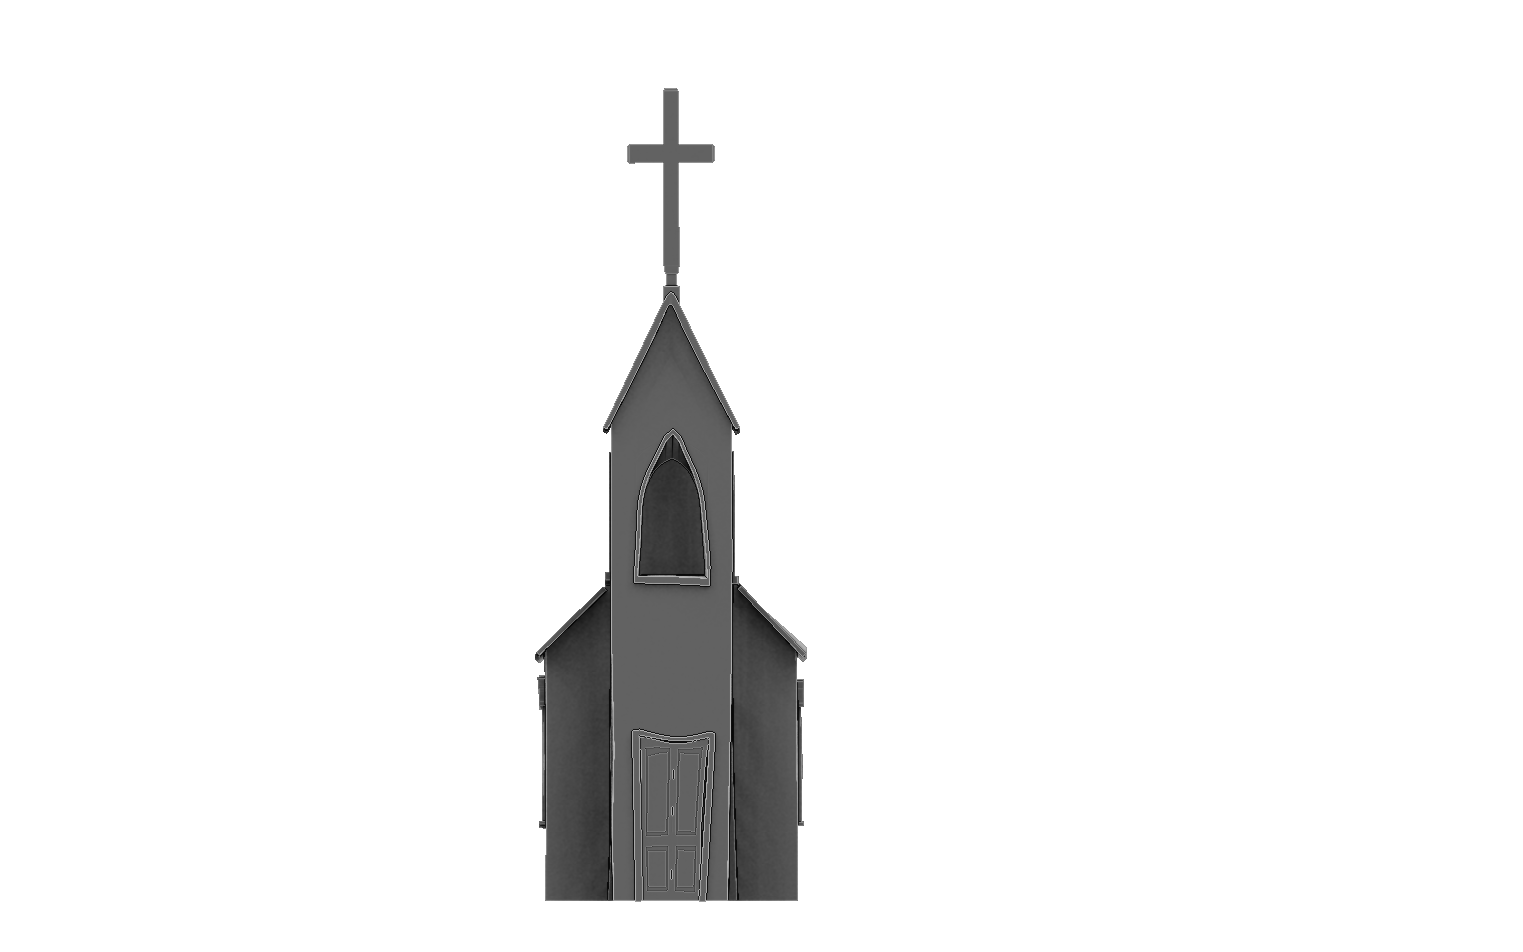
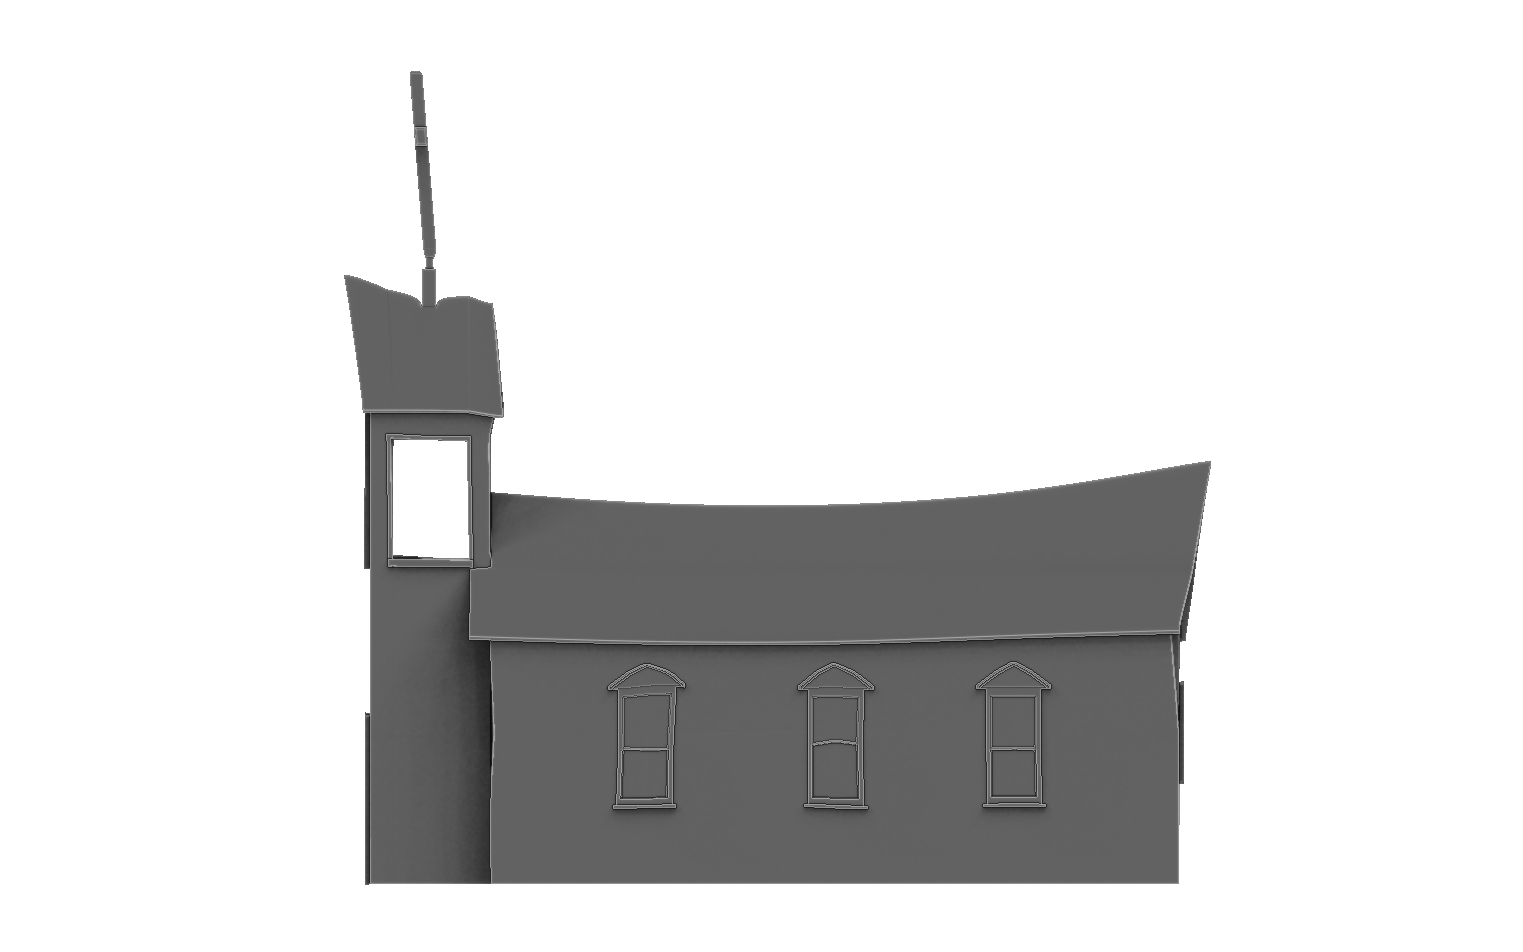
So anyway I yesterday I decided to take a break from my re-topologizing nightmare and work on something else. I choose to work on the first human base, the church. I decided that based on my difficulties with the baron that i’d like to keep the topology clean from the beginning. So started with a clean low poly base mesh.
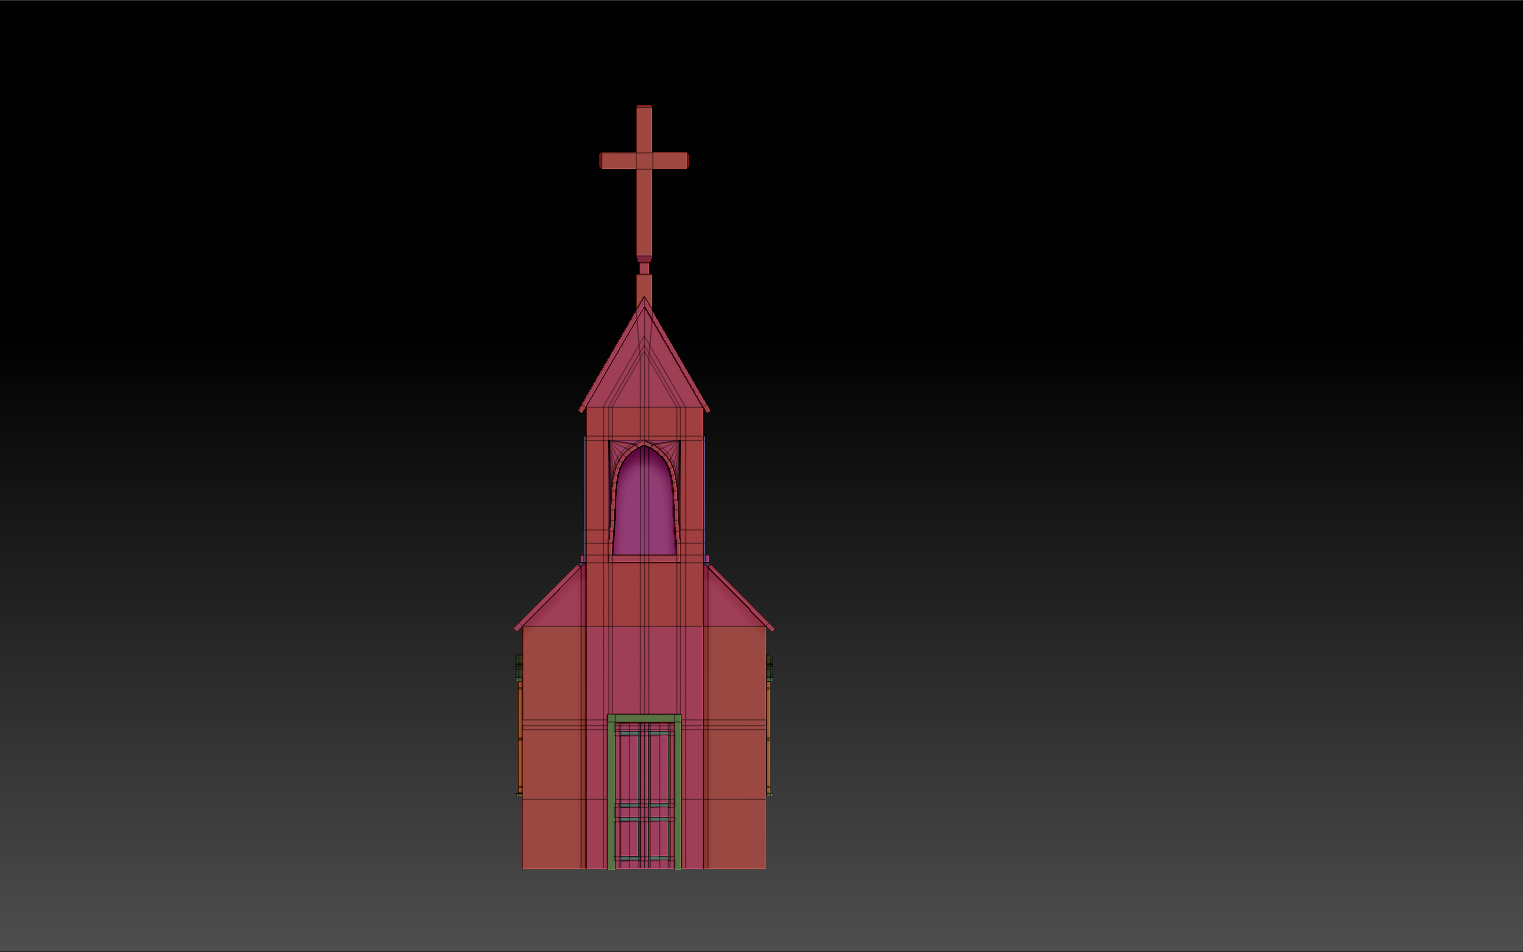
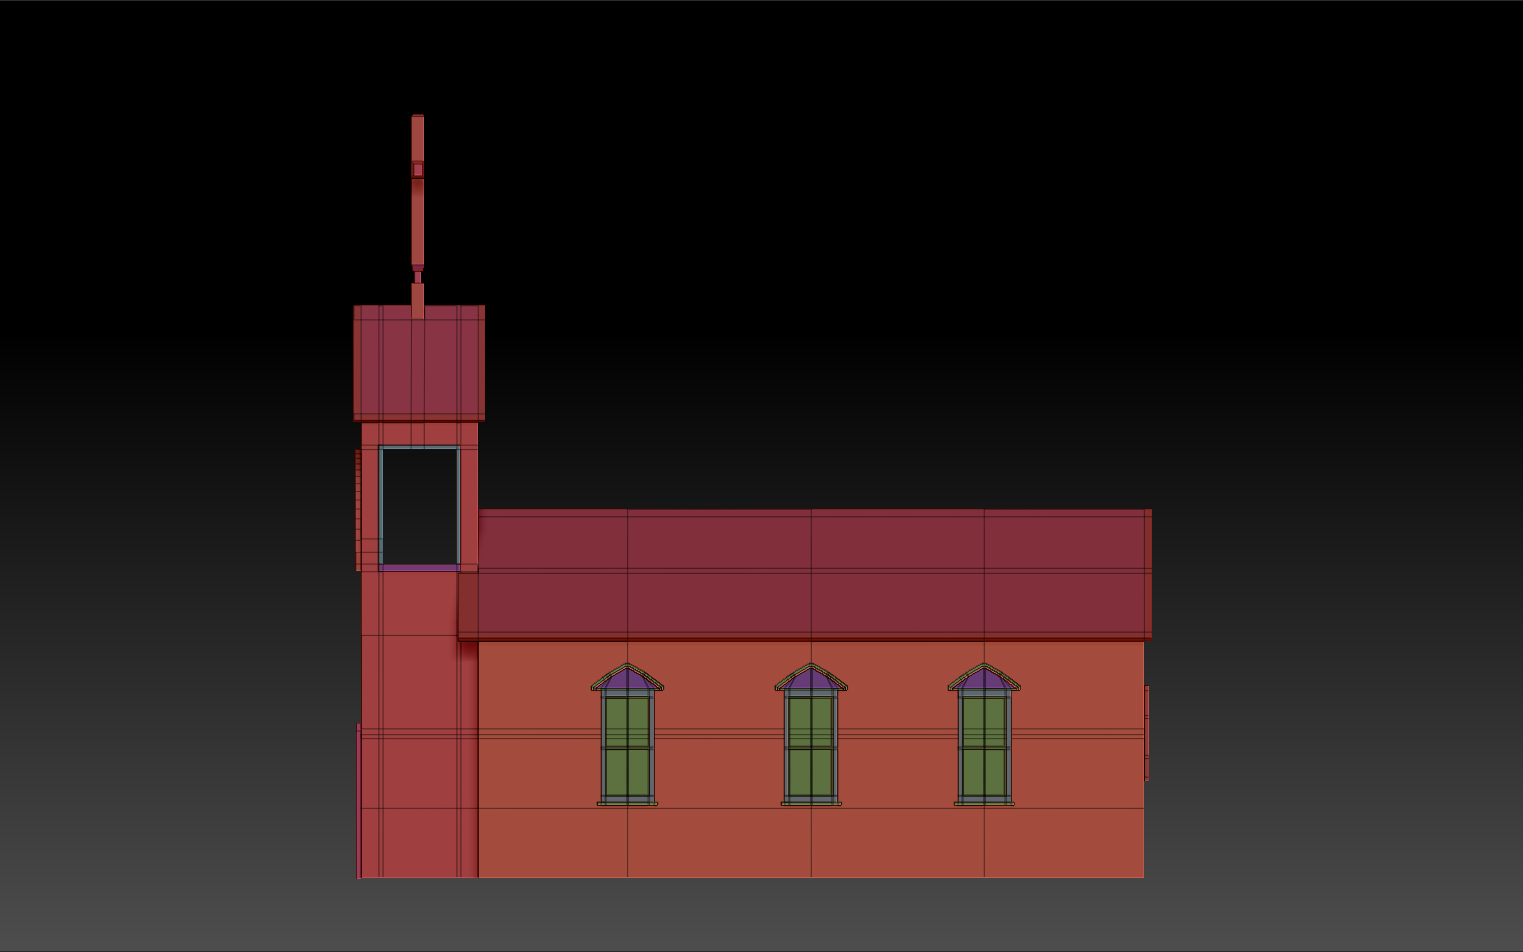
Then from the low poly I ran dynamic subdivision and started sculpting to create a high poly model. I added creases where needed. Here I also destroyed symmetry wherever I could, and I pulled the meshes straight lines into curves, so it felt less rigid. I feel the end result looks pretty good for a first pass.
Up next I’m going to do another details pass to really make it look nice and then its off to UV mapping and texturing.
Finally here are some non wire-frame renders.
back to blog