So I Needed a Window
January 10th, 2017
A brief explanation of my asset pipeline
I’ve done a bunch of tutorials on really specific topics in game development, but when I was trying to learn I found it really hard to find high level over-views on peoples’ processes for tackling problems. I figure now that I’ve kind of got a process that I like, I should probably write one myself. So here’s how I start with nothing and create a simple prop for use in game.
Disclaimer: There’s probably no one right way to set up a workflow. Do what feels best to you. This is just what feels best to me.
So to start let’s say I needed a window. There’s a few things I need before I can even start working.
- I need to know how big to make it.
- I need a rough idea of what it should look like.
- and I need to have rough idea of how it will effect the rest of the scene.
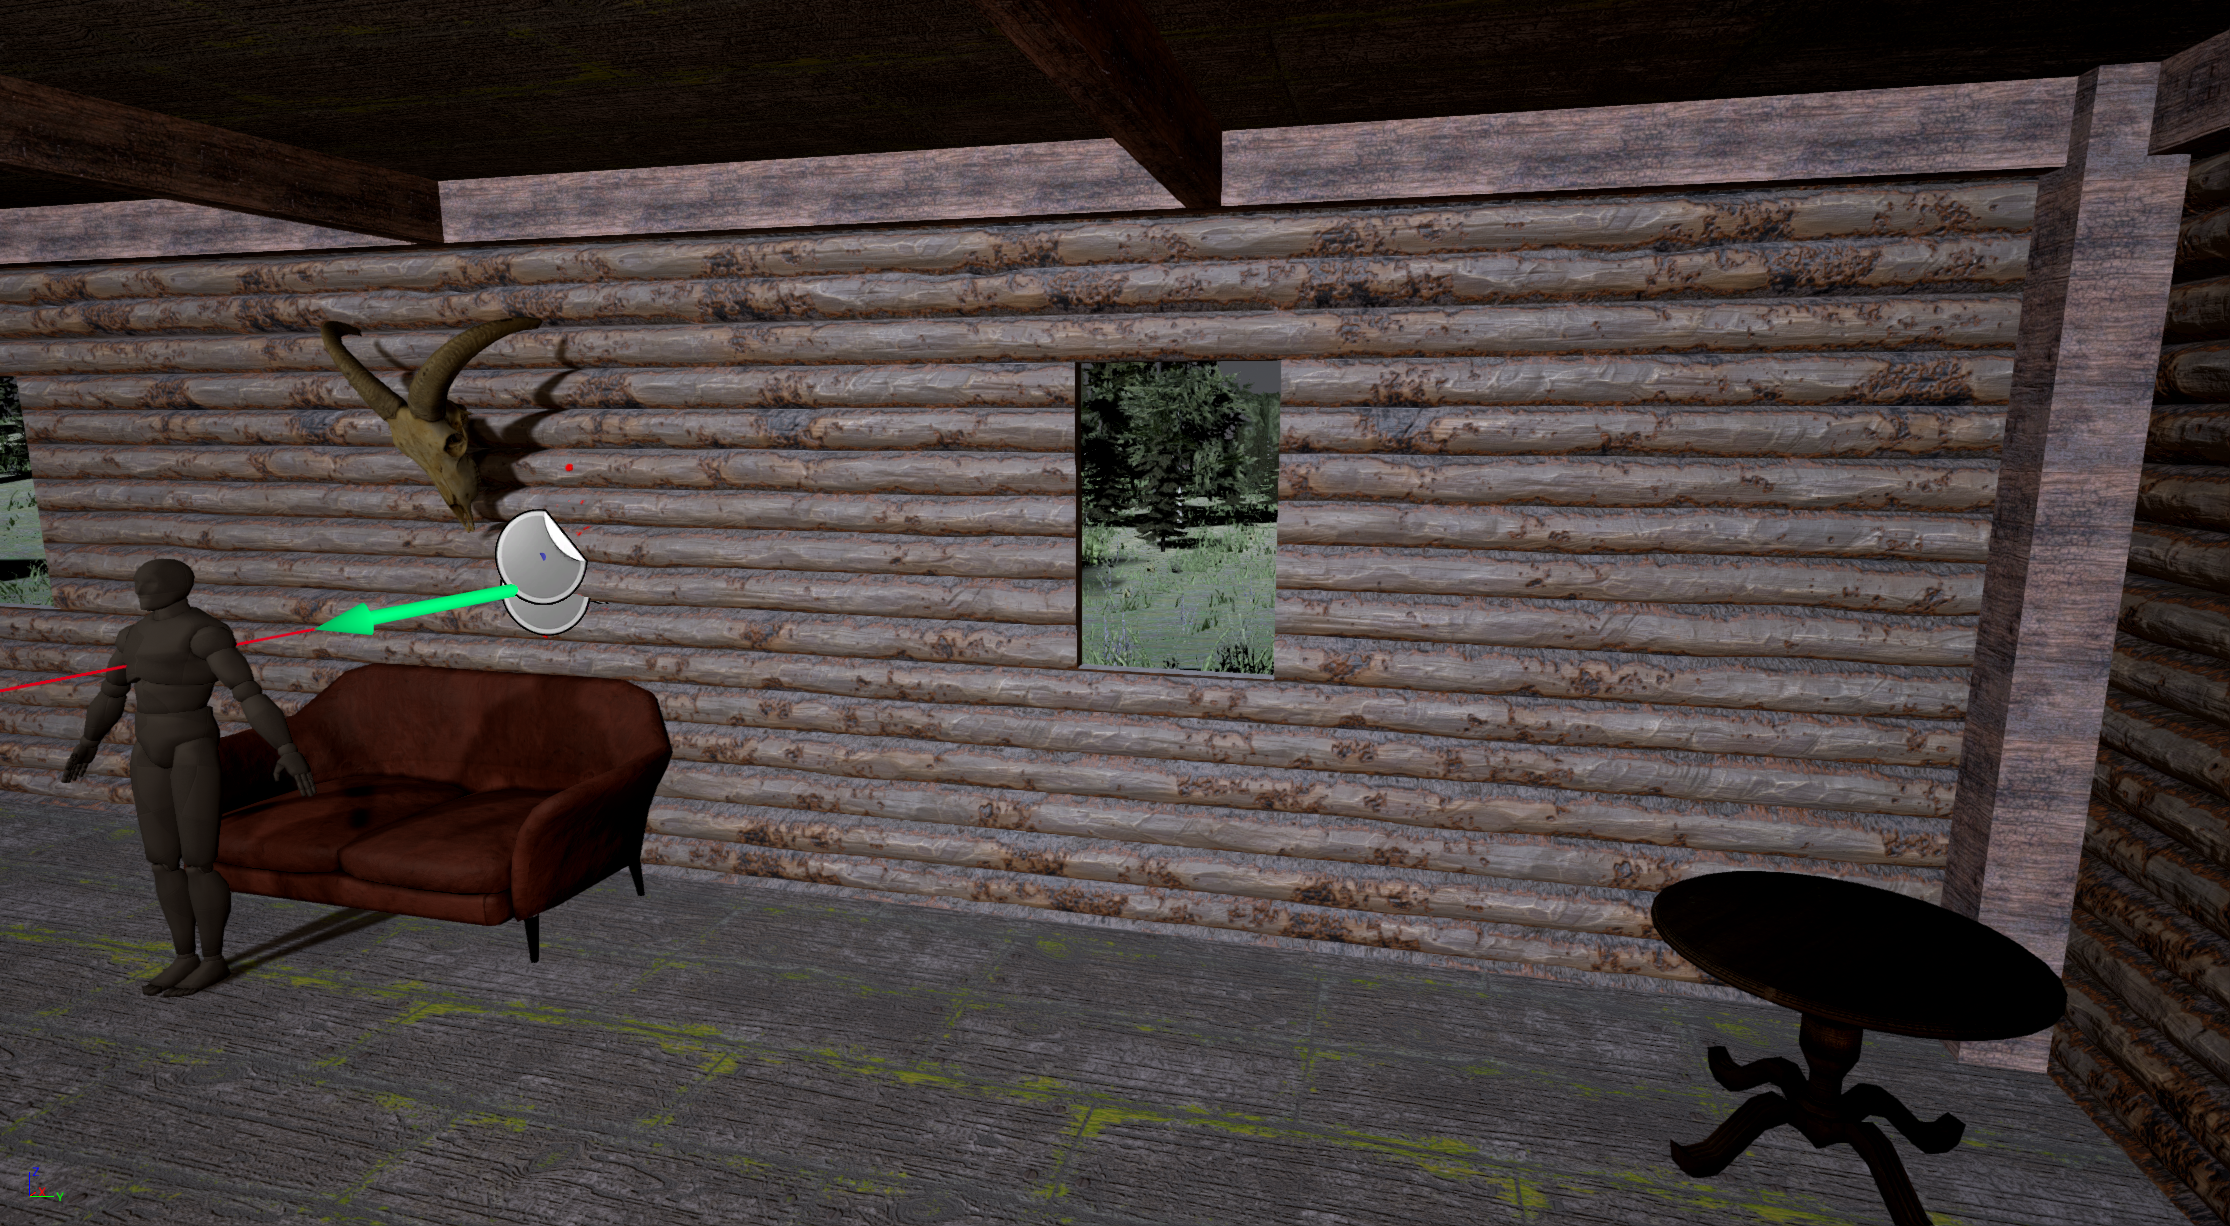
So let’s say I need a window to fit this space:

First I need an idea of what the final product might look like, so my first step is always to google pictures of whatever it is I’m trying to make and then to create a private imgur.com album of the ones I like for reference. In this case an album of cabin Windows: https://imgur.com/a/oeKRx
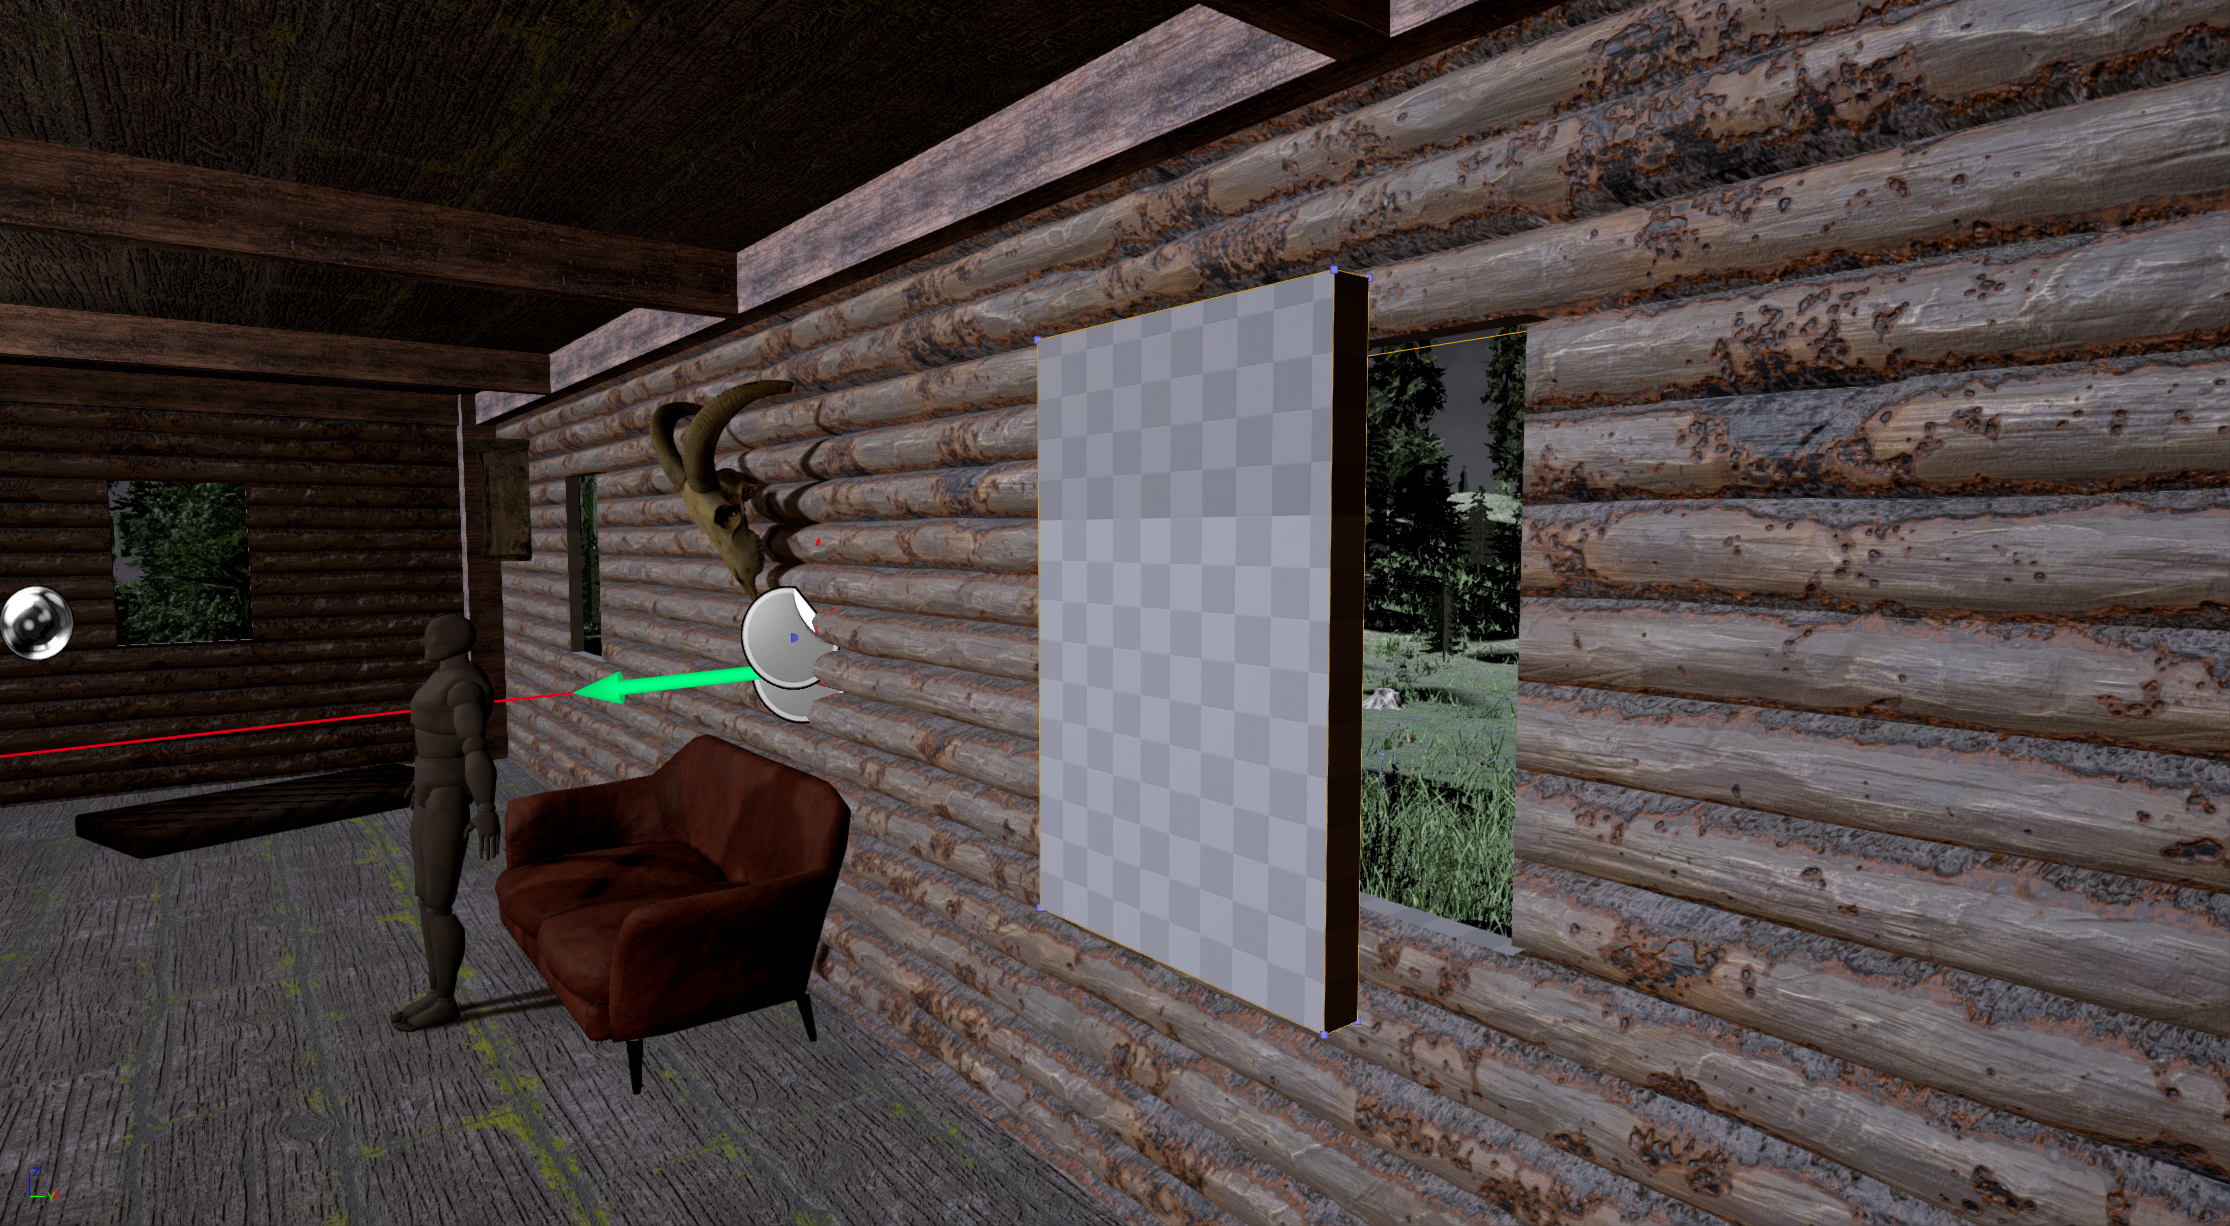
Next I start planning out the shape and dimensions of the asset. Thanks to the wonder that is Unreal Engine’s BSP brushes, this is pretty easy to plan out. I just add a subtractive box brush to wall and then play around with the width and height till I have something that looks acceptable.
Now I’ve got a basic Idea of the dimensions I need. I can see how it looks in the wall. I can even bake the lighting and see how it effects that. Now if you wanted you could write down the values for the width and height of the window, then convert the units from unreal units to blender units and then model out something roughly the same shape. Which by the way is what I used to do until I realized I could just export the bsp brush to blender and skip all of that middle man stuff. Just alt-drag one of the directional handles to create a clone so you don’t lose the original hole in your wall, and convert the resulting BSP to additive.
Now just click convert to static mesh in the details panel and save it. 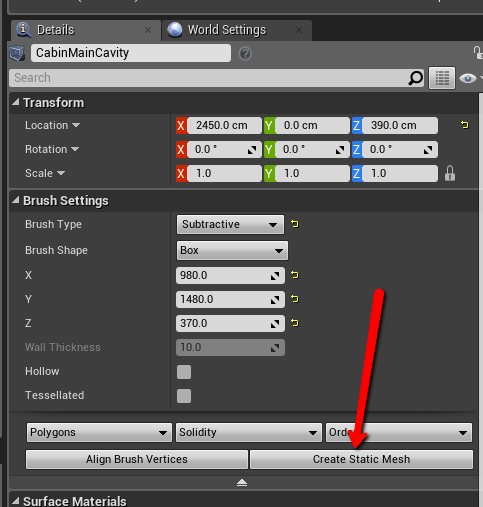
Now navigate to the mesh in the content browser and there will be an option to export the static mesh you created.

Now you can load the .fbx up in blender and start modeling. Sometimes I model directly off the imported shape, and sometimes I just use it as an outline to make sure my sizes are right. Note: If you want to model on the cube directly you need to un-triangulate it first. you can do that by pressing alt+j in edit mode.
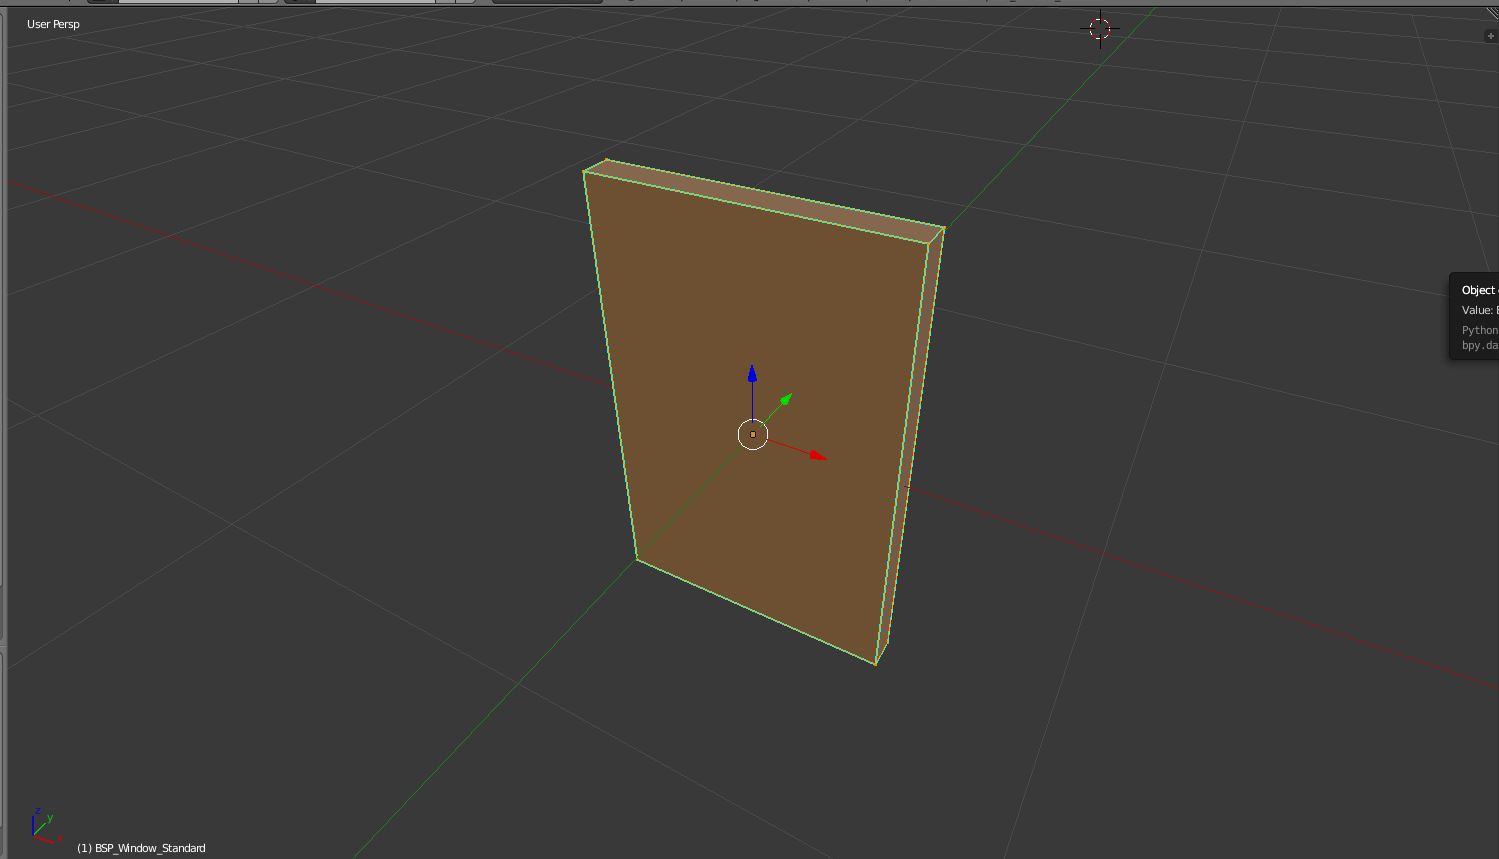
In this case I just used the box for reference.
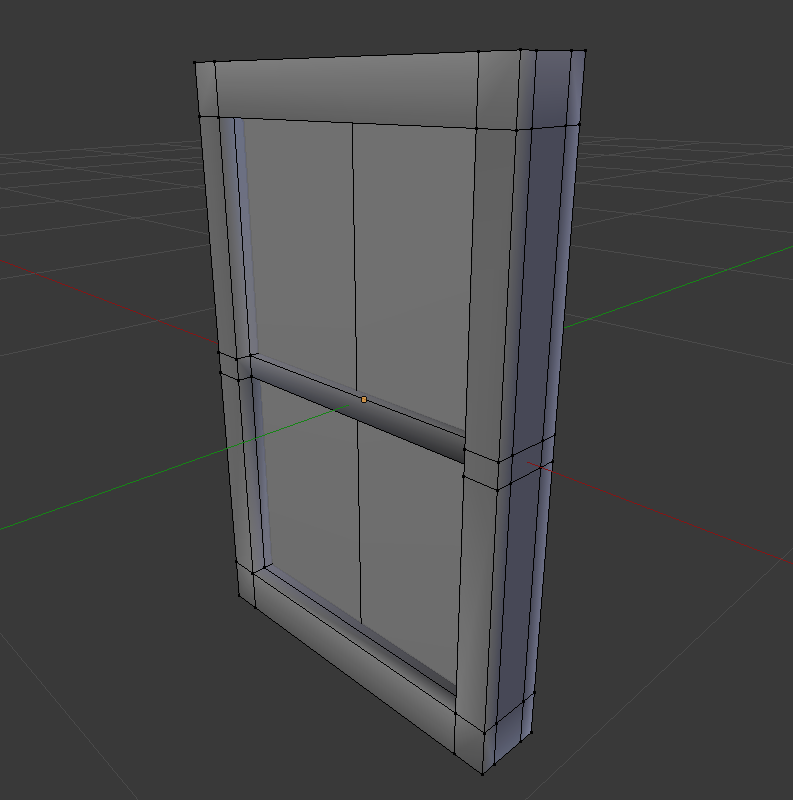
Once I’ve modeled and assigned materials I UV in Blender if it’s a simple boxy shape like this one. If this were a more complex model I’d probably spin it up in 3D-Coat.
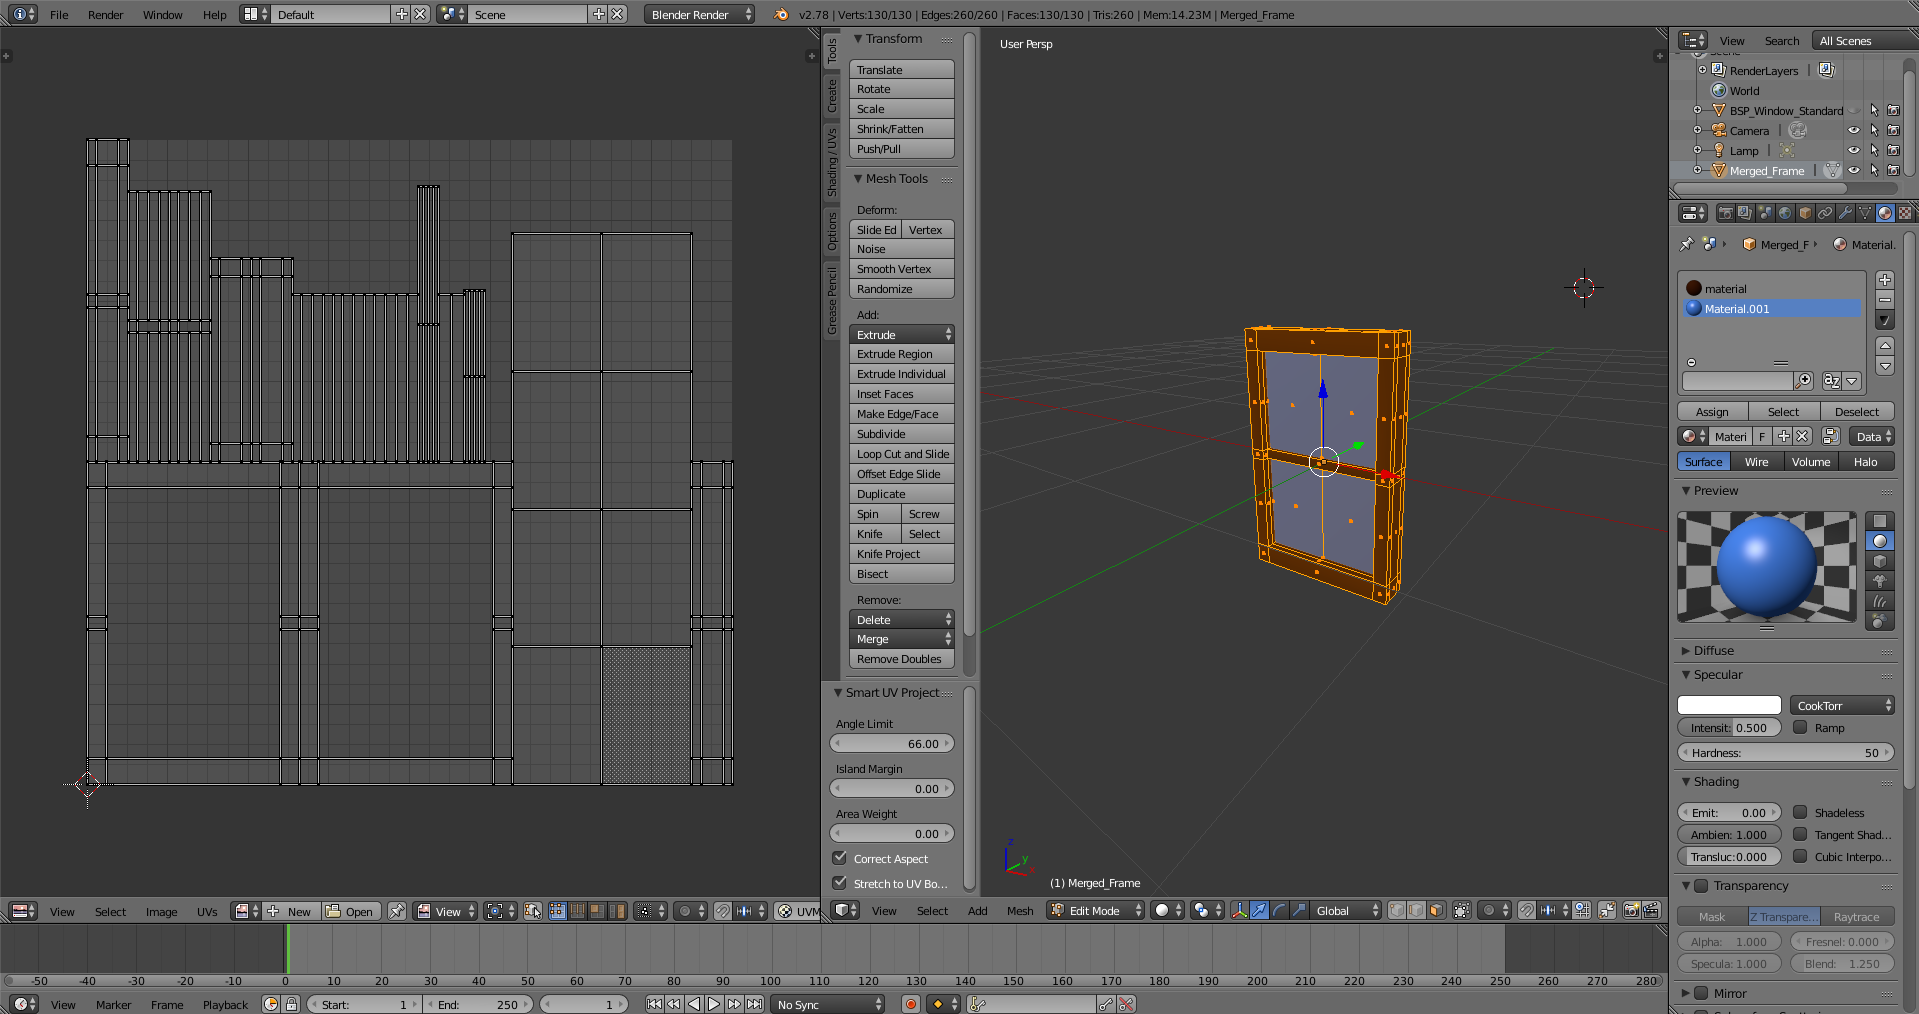
Note that I do all my texturing in Allegorithmic Substances, so I dial in my materials in engine. So for simple assets I just pull them into engine with single color materials and worry about that part later.
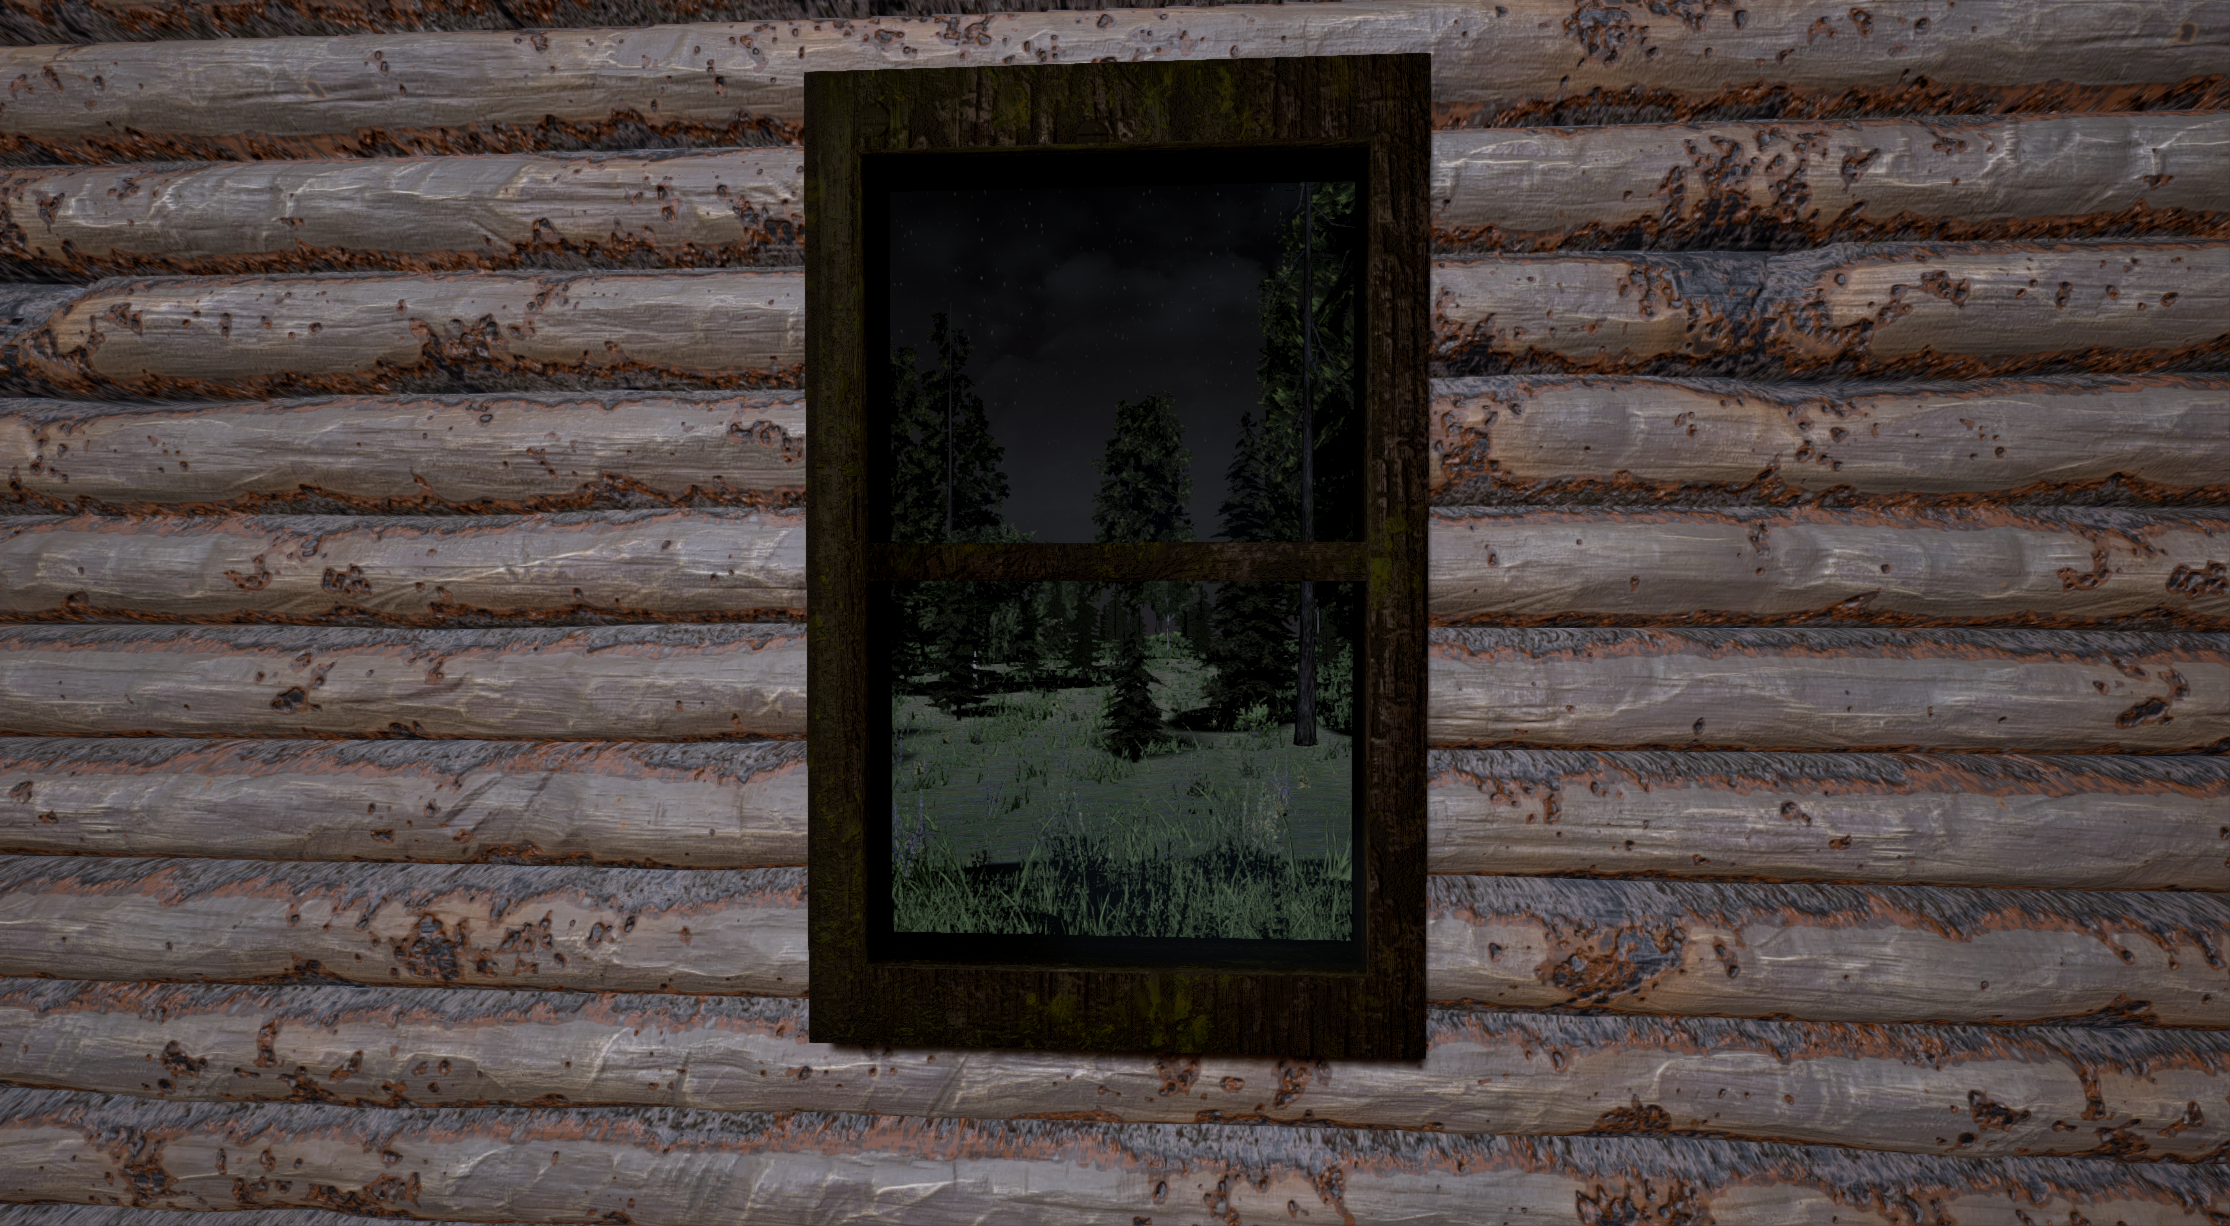
And here we are at the final product… er… kinda… The great part of working on this stuff is that I only do a rough pass on anything on my first pass, so this window will do for now. As I work on this project I’ll continue to dial in the assets and make changes but for now this will be fine.
back to blog