There’s More than One Way to Skin a Zombie
September 1st, 2015
One of the biggest lessons I’ve learned since starting this project is that no matter how hard you try and how much research you do before attacking a problem you are never going to get it right on your first attempt. So if you take it as a given that you’re going to have to redo it you might as well have a little fun with your first attempt, and so I give you “Creepy Uncle Zeddy” the new generic zombie skin and temporary mascot for Project Zeds .
Zeds Generic Zombie
by JimmothySanchez
on Sketchfab
I’m still relatively new to modeling and completely new to trying to model a character, so i modeled creepy uncle Zeddy mostly so I could get some practice at modeling, skinning and rigging a character. He is not indicative of what sort of zombies will be in the final game at all. Think of him more as place holder 2.0. I realize I’m just learning myself, but let me show you the steps I took to get this model.
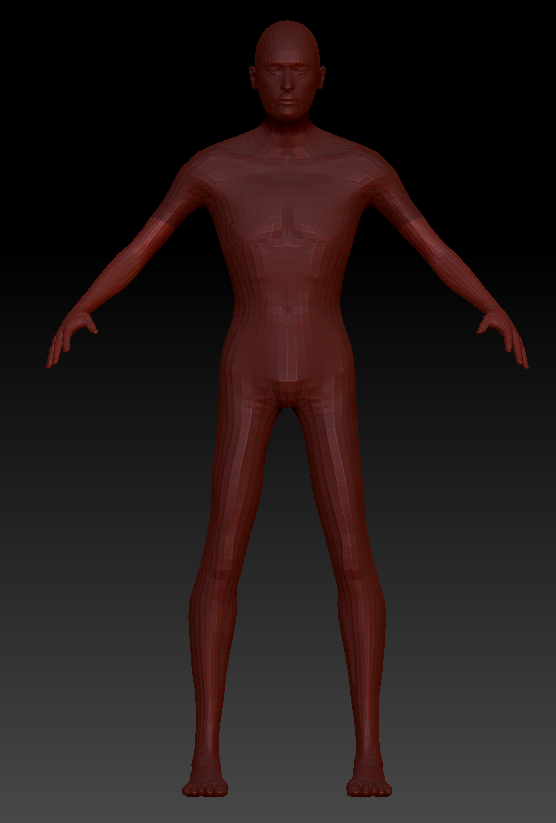
- Start with generic model – I started with a basic bipede model right from the beginning. I used Make Human, a basic mesh generator to quickly dial in the proportions I was looking for in my model. I then pulled the resulting mesh into Zbrush for manual editing. I wanted a skinny inferior looking zombie so I dialed the weight way down and set the age to the late thirties.
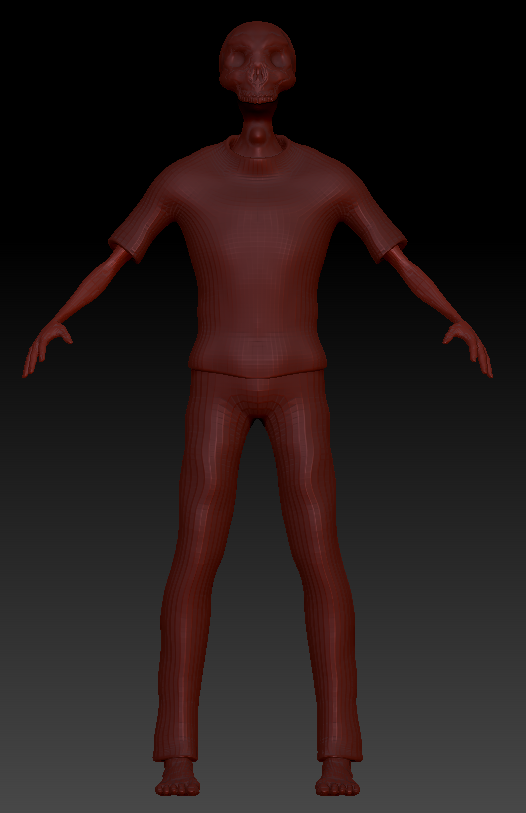
- Extrude Skin for clothes – Next I extruded the areas that would be covered by clothes so I had base meshes to work with for the pants and the shirt.

- Create Zombie Head – Next I modeled the zombie head from scratch using an image of a skull as reference. Not perfect but not bad for a first try.
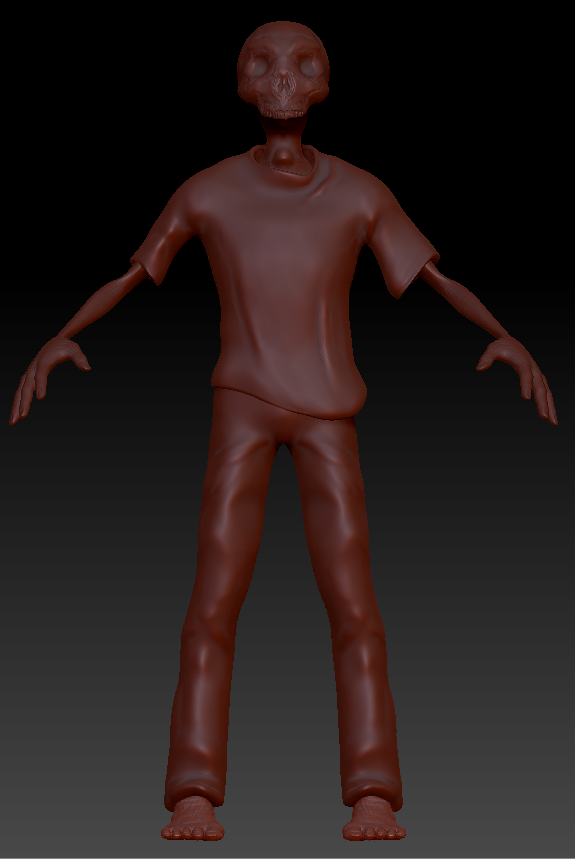
- Details Pass – Next I did a details pass. I cleaned up all the clothing pieces so they looked like they flowed a little better. I made the arms even skinnier with bigger hands and a bigger head. I’d rather not have realistic characters in the game so I like to throw off the proportions where I can.
 Low-poly and UV’s – Here’s where a lot of people sink a lot of time, and this was definitely an exercise in creating things quickly so instead of re-topologizing the whole mesh correctly in Modo I used zbrush’s zremesher tool and was able to get results that suited my needs. I also used the UV master tool to spin up some quick UV’s. Those I did eventually touch up in Modo though.
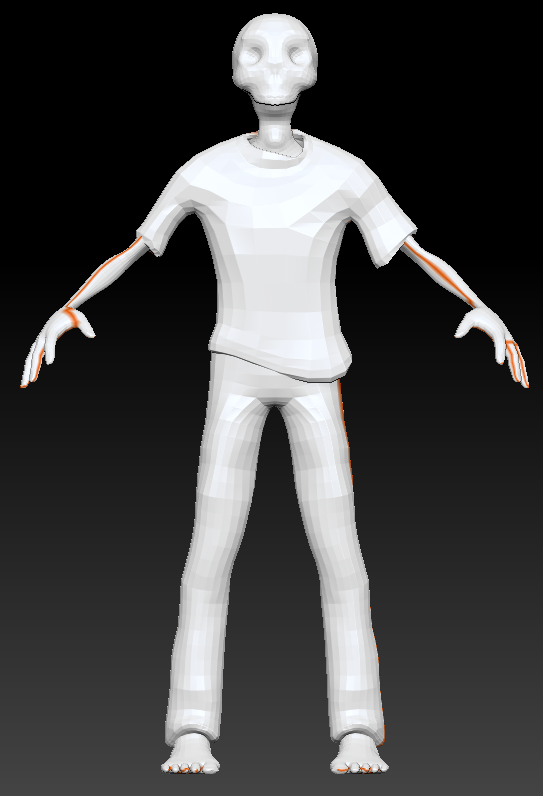
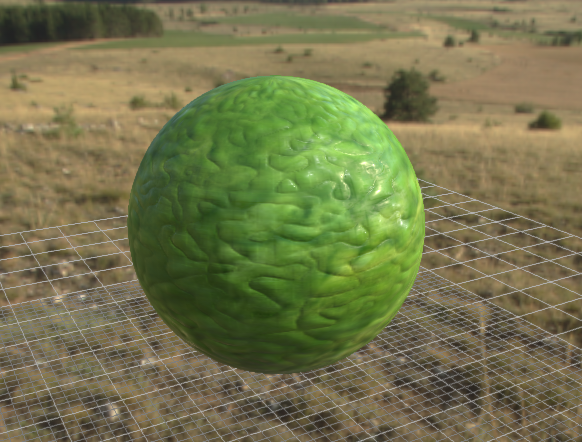
- Create a zombie skin – I really wanted a cool looking zombie skin texture. Since I’d be painting it in substance painter anyway I figured the best tool to create the texture would be substance designer. I created the texture by basically overlaying a few different liquid textures on top of each other and then giving the whole thing a green tint.

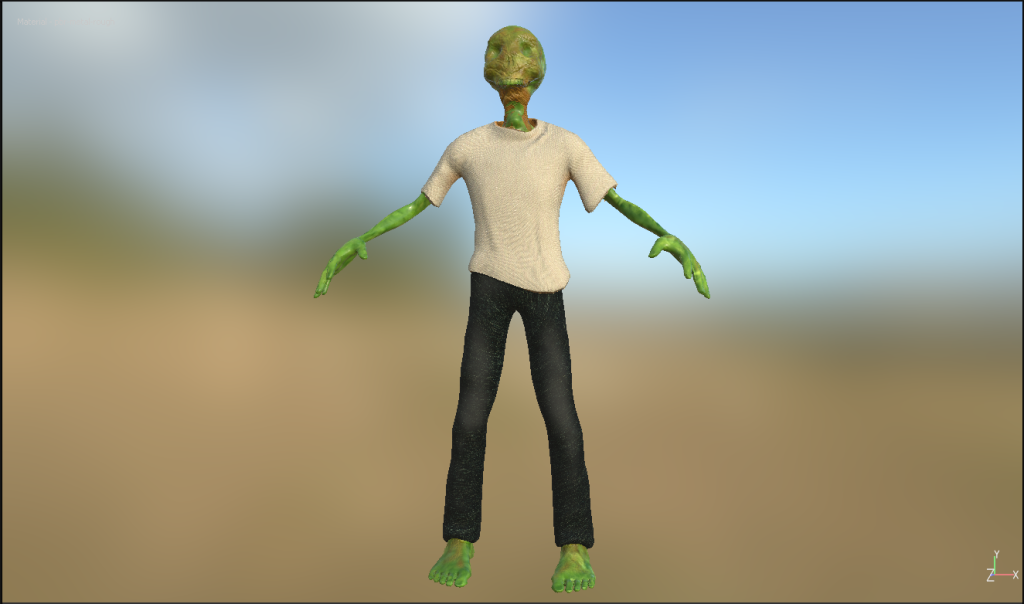
- Paint Base Materials – In a manner similar to the gate from two weeks ago I pulled the whole mesh into Substance painter, baked my textures from the high poly version of the mesh and set base textures for each piece using the zombie skin I created in the last step on the zombies body pieces.

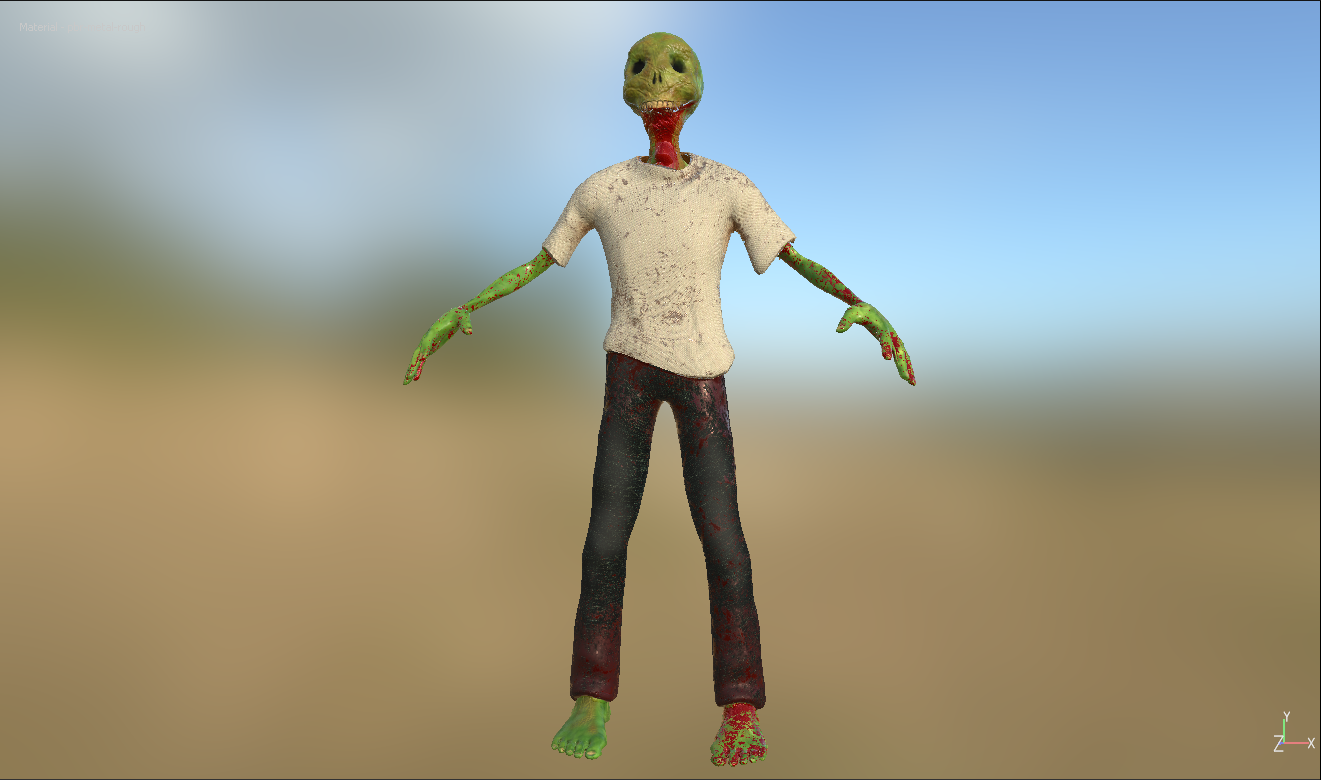
- Add the first round of details – Here I added wear marks to the jeans, light stains to the shirt and leathery patches to the zombies actual skin.
- Second round of details – This round of details was focused in giving definition to shapes already on the zombie such as the eyes and the outlines for the teeth and fingernails.

- Blood Details – Added blood because, well you know.. Zombie

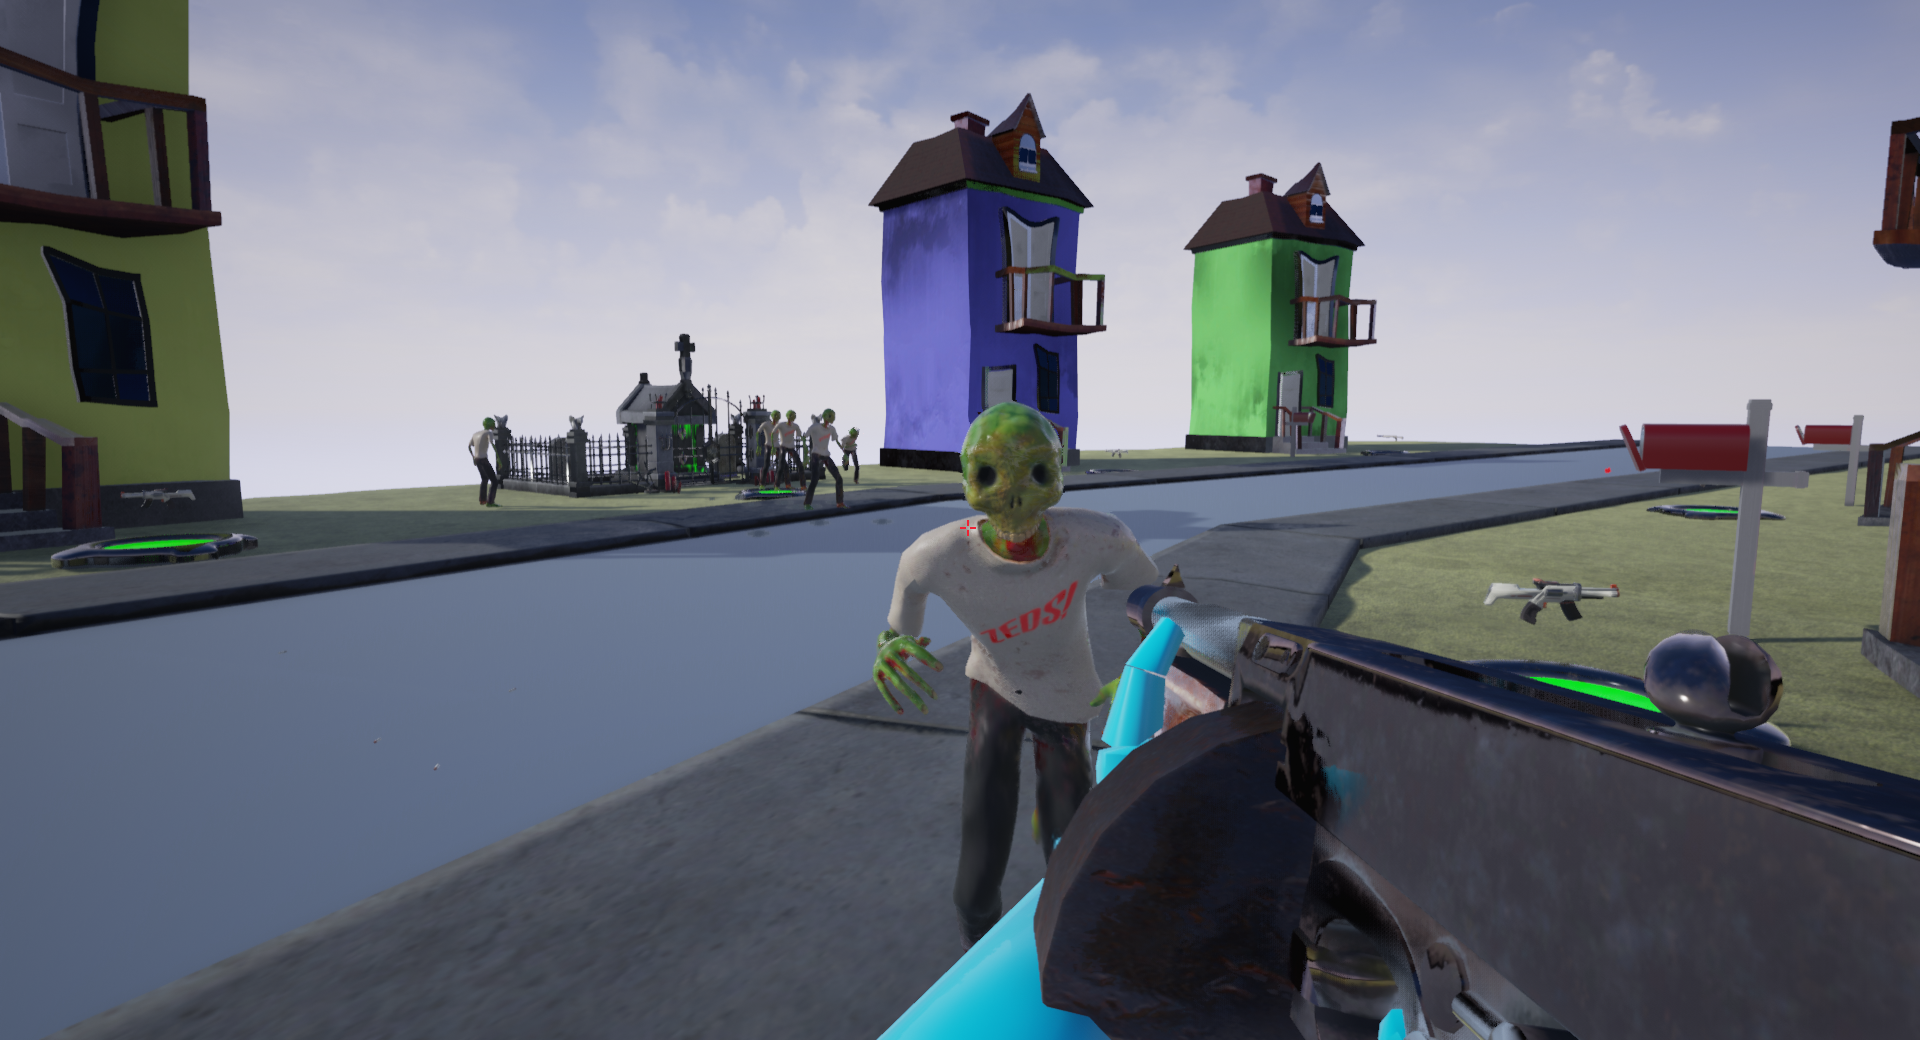
- Logo – Finally I decided to decal the games logo on his shirt. This is partly so people realize this zombie isn’t a final version, but one that’s a placeholder until later.


Anyway that’s the back story for creepy uncle Zeddy. Any constructive comments or critiques are appreciated. Feel free to leave them in the comments section below.
back to blog